


Simplified Installation Process for Solar Street Lights: How to Customize Your Lighting Layout?
1. Foundation Preparation: Site Selection and Ground Treatment
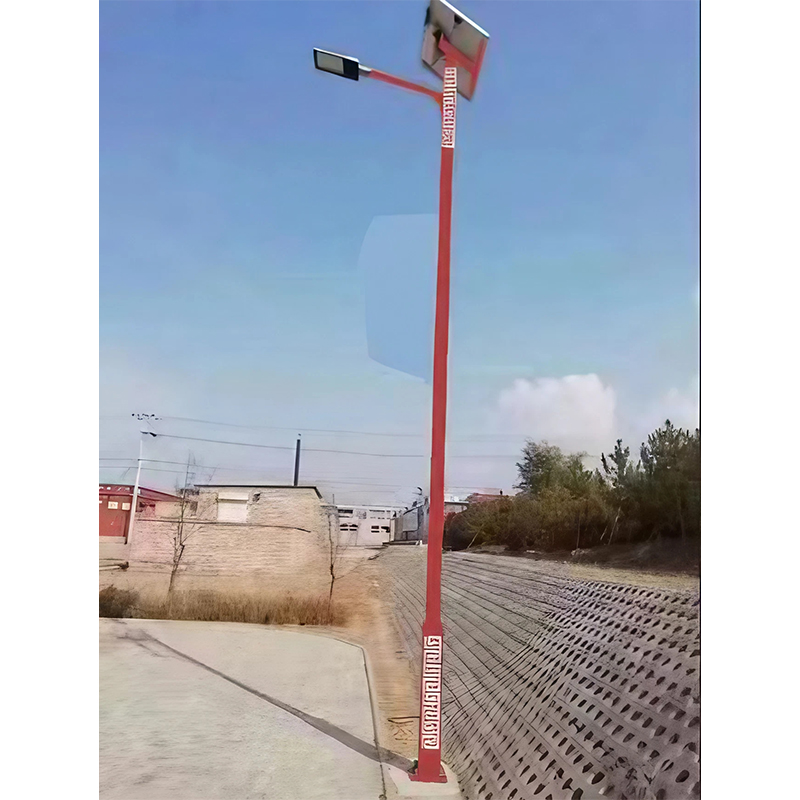
Before installation, the primary task is scientific site selection. Ensure the light pole location receives at least 5-6 hours of unobstructed sunlight daily, avoiding the shade of trees, buildings, or billboards. Simultaneously, consider the lighting coverage area—a 6-meter-high light pole can typically effectively illuminate an area with a diameter of 15-20 meters. After determining the location, excavate the foundation pit, place the embedded parts, and pour C25 concrete. After the concrete has cured for 3-7 days to reach its strength, the light pole can be installed. No power connection is required at this stage, truly achieving "grid-free" operation.

2. Pole and Component Assembly: Modular Design Improves Efficiency
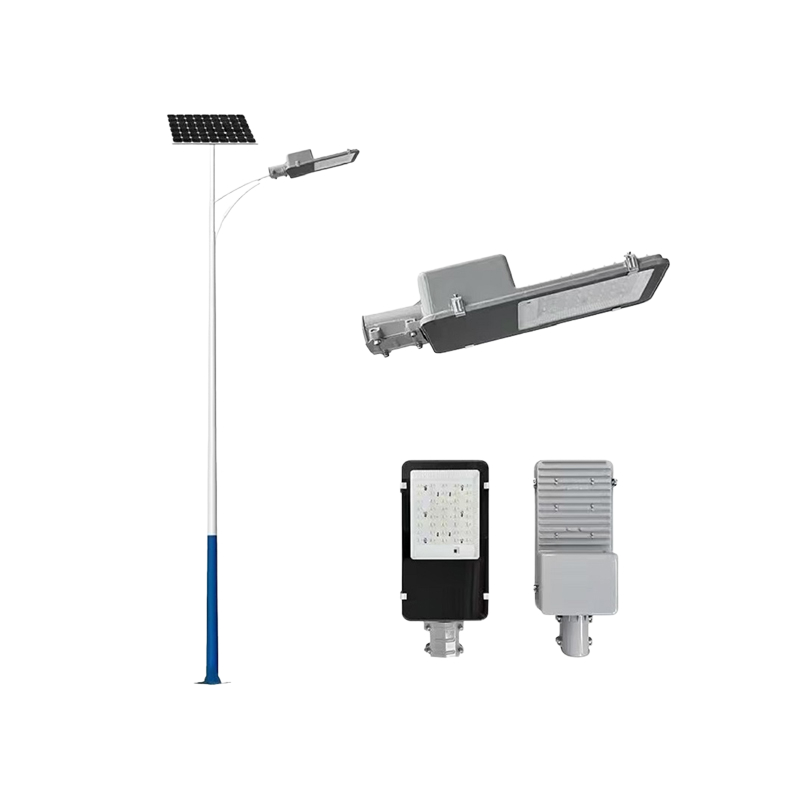
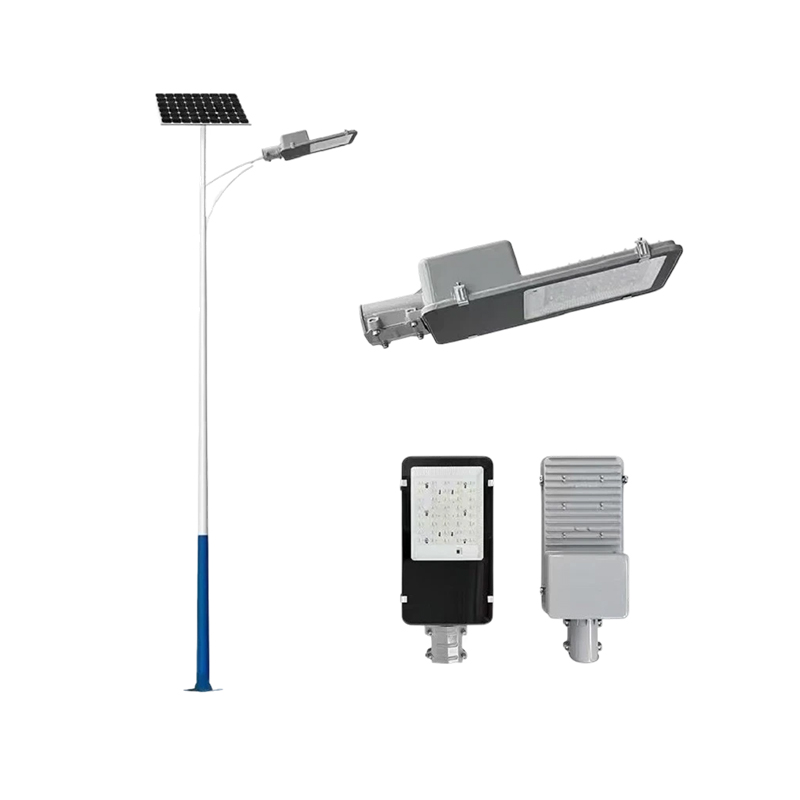
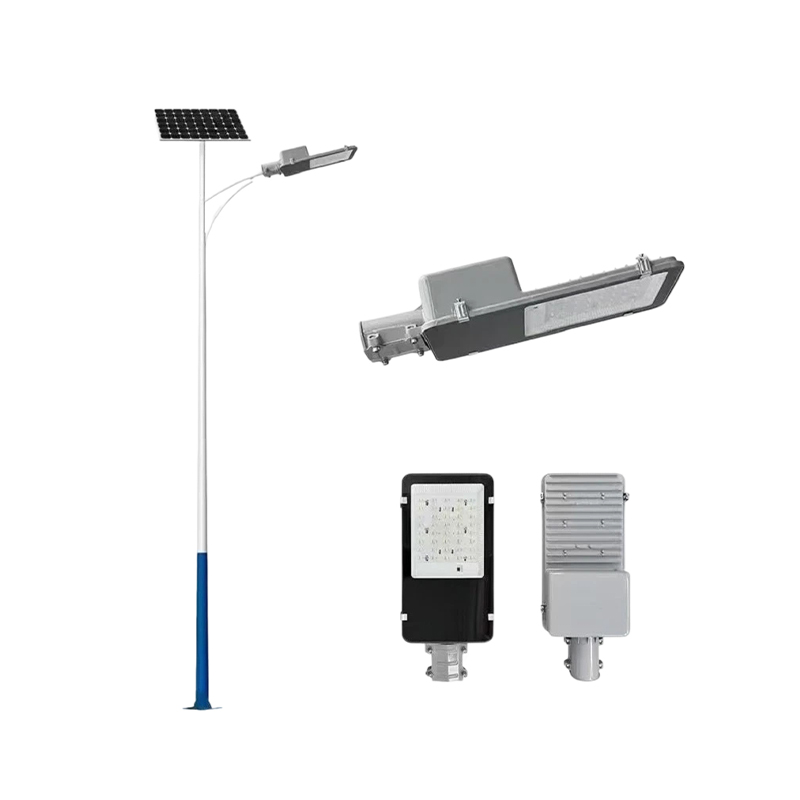
Solar street lights utilize a one-piece tapered pole made of Q235 steel, treated with hot-dip galvanizing and outdoor anti-rust paint for double corrosion protection, achieving a wind resistance rating of up to level 12. During installation, first fix the LED light heads and solar panel brackets to both ends of the lamp arm, then securely install the 60W monocrystalline silicon solar panel on the south-facing inclined top. All electrical interfaces use waterproof aviation plugs, allowing for plug-and-play connection and eliminating the need for on-site welding. The entire upper structure can be pre-assembled on the ground and then hoisted to the top of the lamp pole, significantly reducing the risks of working at heights.
3. Electrical Connection and System Activation: Plug and Play, Intelligent Operation
Lead the cable from the pre-embedded junction box and connect it to the lithium battery compartment at the bottom of the lamp pole using quick-connect terminals. The lithium iron phosphate battery boasts excellent high and low temperature performance and safety, supporting operation in environments ranging from -20℃ to 60℃. After wiring is complete, turn on the battery switch, and the system automatically enters standby mode. The controller employs a dual-mode logic of light control and time control: LED lights automatically illuminate at dusk and automatically shut off after 6 hours of continuous operation, requiring no manual intervention. Some models also support remote setting of lighting duration or segmented dimming via a mobile app, further enhancing usability.
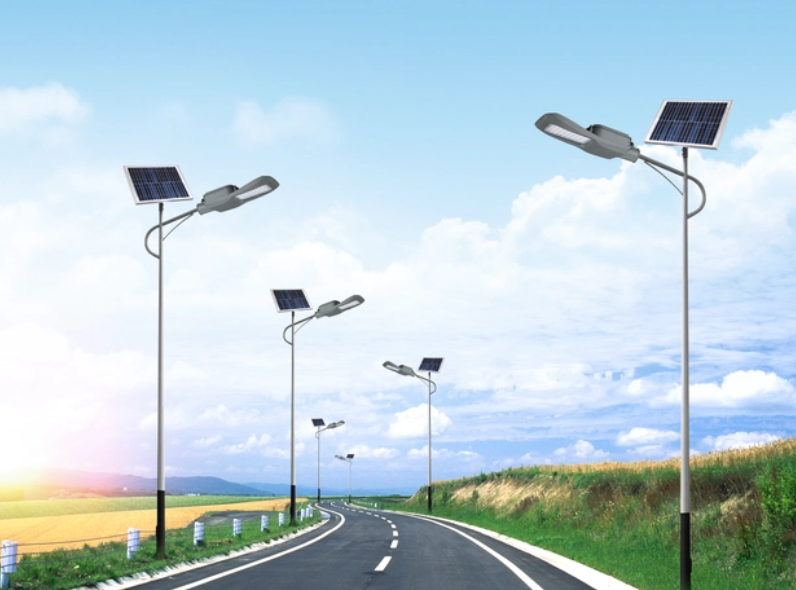
4. Flexible Lighting Layout: Deploy as Needed, Flexible Adjustment
Because there's no need to dig trenches or bury cables, and it doesn't rely on mains power, solar street lights offer unparalleled flexibility in their layout. Users can arbitrarily increase or decrease the number of lights, adjust spacing, and even temporarily deploy them in construction areas or festival venues based on road direction, pedestrian density, or landscape requirements. For example, asymmetrical lighting can be used on winding paths; multi-light convergence lighting can be set up in the center of a square; and temporary lighting arrays can be quickly set up in emergency passages. This "what you see is what you get" lighting approach completely breaks free from the constraints of traditional streetlights limited by the power grid.
Installation of solar street lights can be completed within half a day, truly achieving "easy installation and instant operation." Its modular structure, intelligent control logic, and completely off-grid characteristics further grant users unprecedented freedom in lighting layout. Whether it's rural revitalization, smart city development, or the construction of eco-tourism areas, this flexible, reliable, and maintenance-free green lighting solution is becoming the mainstream choice for future outdoor lighting.